If you need a bitcoin wallet, know that all you need is a USB drive. Securely using Tails Linux, we can create a cold wallet. For the creation process, I recommend buying a new device with 8GB to 32GB and following the procedure explained here on a secure, malware-free system.
Table of Contents

Introduction:
The cold wallet we will use is the Electrum Bitcoin Wallet. You could install it on any system, such as Windows, Android, Linux, and even Mac, but since our concern is security, we will use an external device with Tails Linux. It is an amnesic system, so once you turn it off, it will not leave any traces on your computer. Additionally, it uses the Tor network to protect your online privacy. Tails Linux was recommended by Edward Snowden himself as a system that maintains your security and anonymity.
Let’s start the process of creating our bitcoin wallet. Follow all the steps carefully to ensure everything works perfectly.
Tails Installation:
To install Tails, I recommend following the instructions on the official website. Choose your system and download and install it on your USB drive.
Now that you have Tails on your USB drive, you will need to access your computer’s BIOS. To do this, you will need to restart your device and press one of the following keys: F12, F11, F10, F9, F2, ESC. If none of these work, search for how to open the BIOS on your computer.
With the BIOS open, look for the Boot options and select your USB drive. The result will be a screen like this, where you will choose the first option.
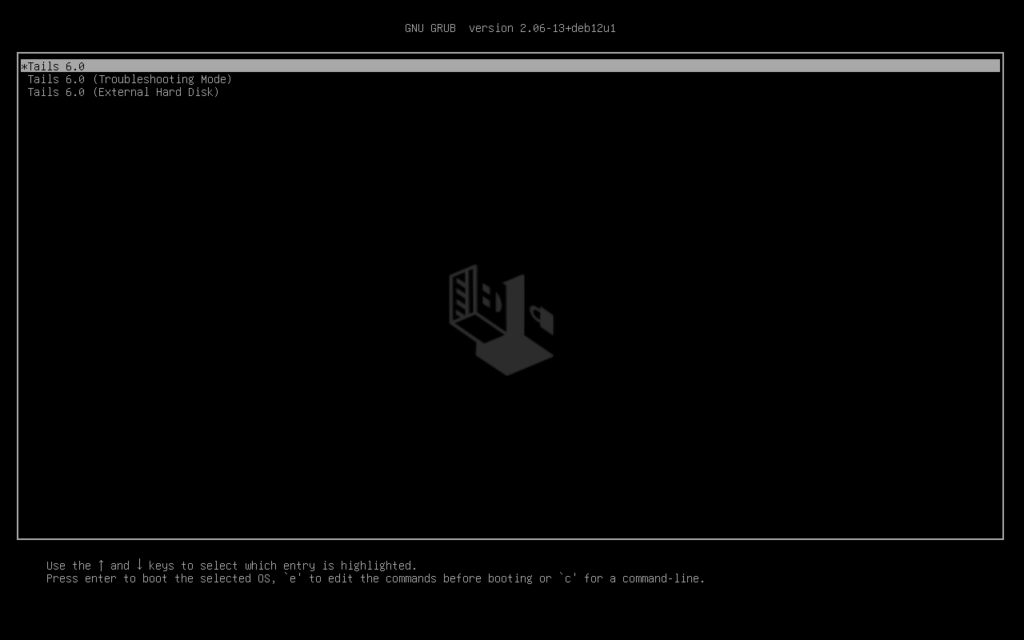
Once Tails starts, you can choose the language you want and the layout of your keyboard. After that, we’ll start the configuration! Follow the steps with the help of the images.
Persistent Storage Setup:
Let’s start with the Persistent Storage configuration. In it, we will enable some options so that the system can save your bitcoin wallet and your Wi-Fi networks.
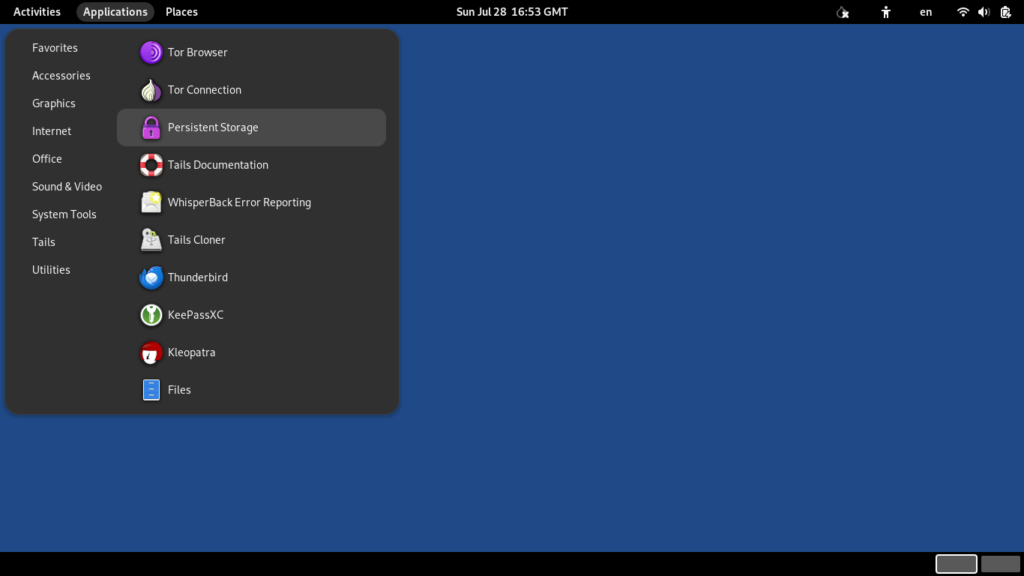
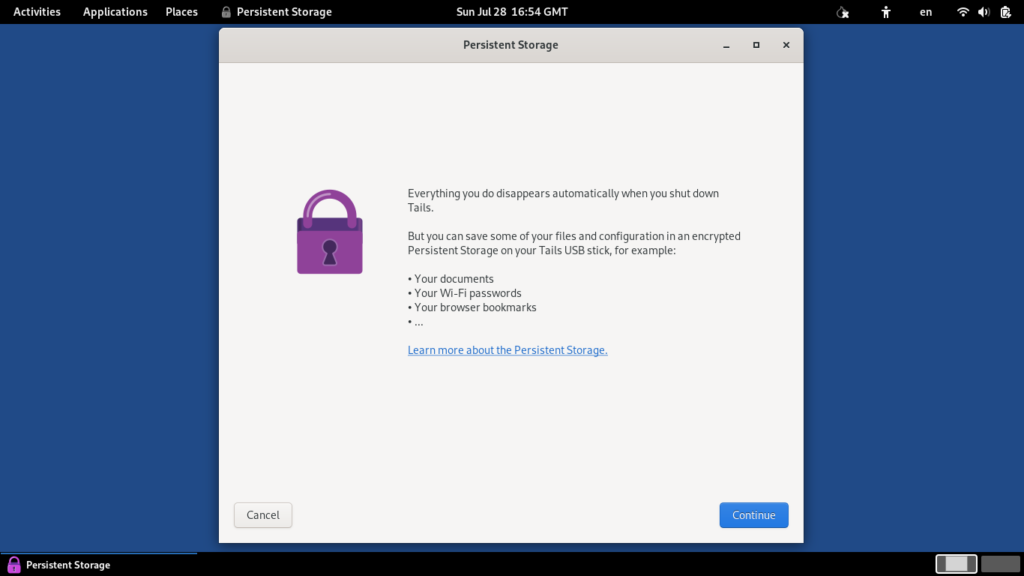
Once it opens, proceed by clicking the “Continue” button:
On this screen, we need to set a secure password to protect your system:
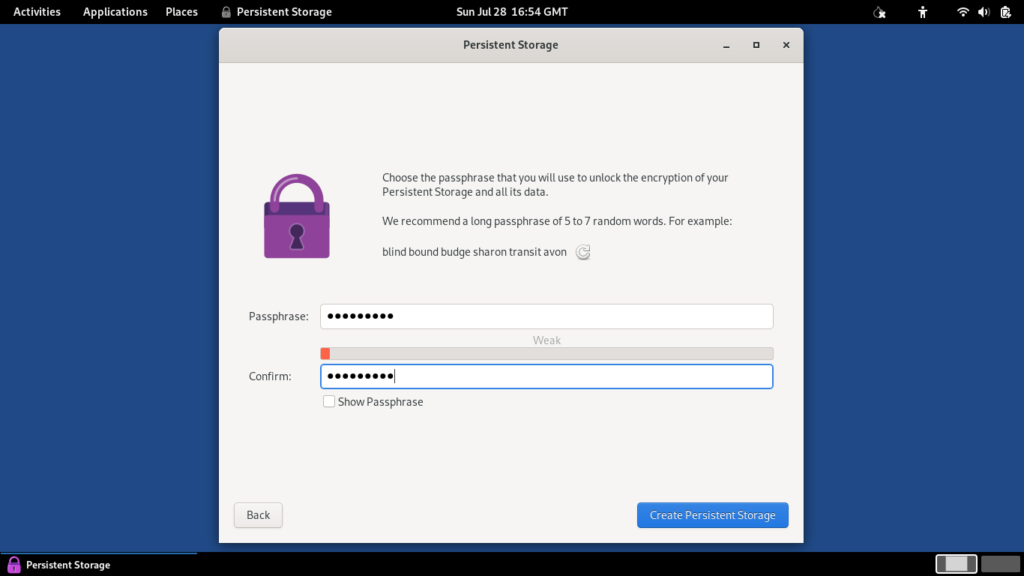
After setting the password, we will enable some options, which are:
Welcome Screen;
Network Connections;
Electrum Bitcoin Wallet;
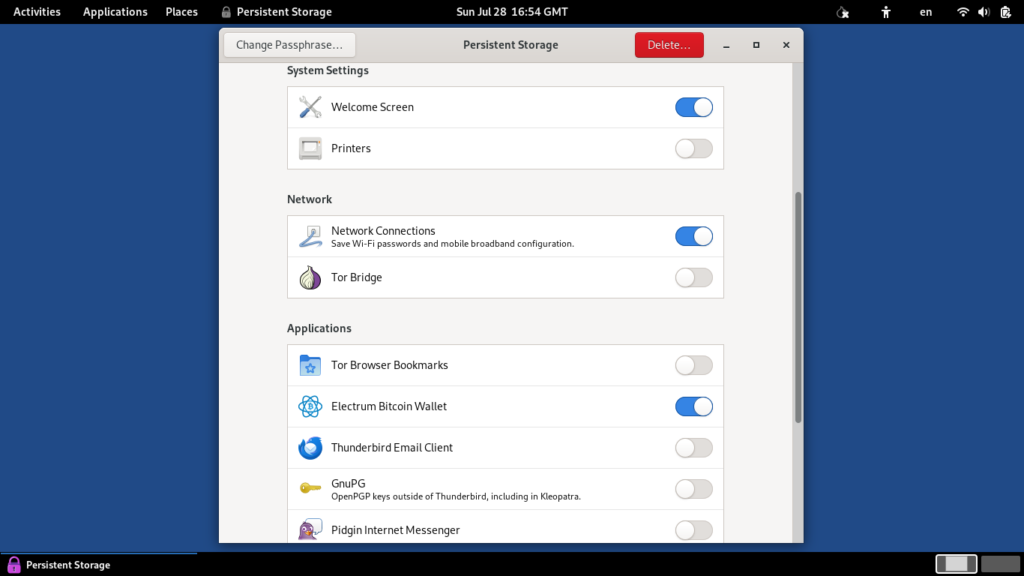
With the changes made, you can close the Persistent Storage and proceed to the bitcoin wallet setup.
Configuring the Bitcoin Wallet:
Let’s look for the Electrum Bitcoin Wallet application on the system.
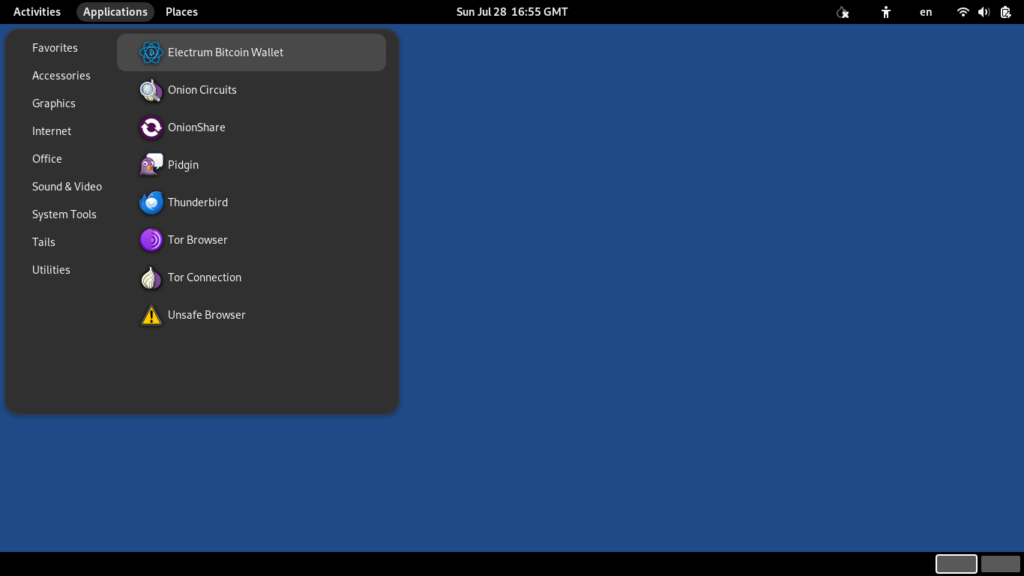
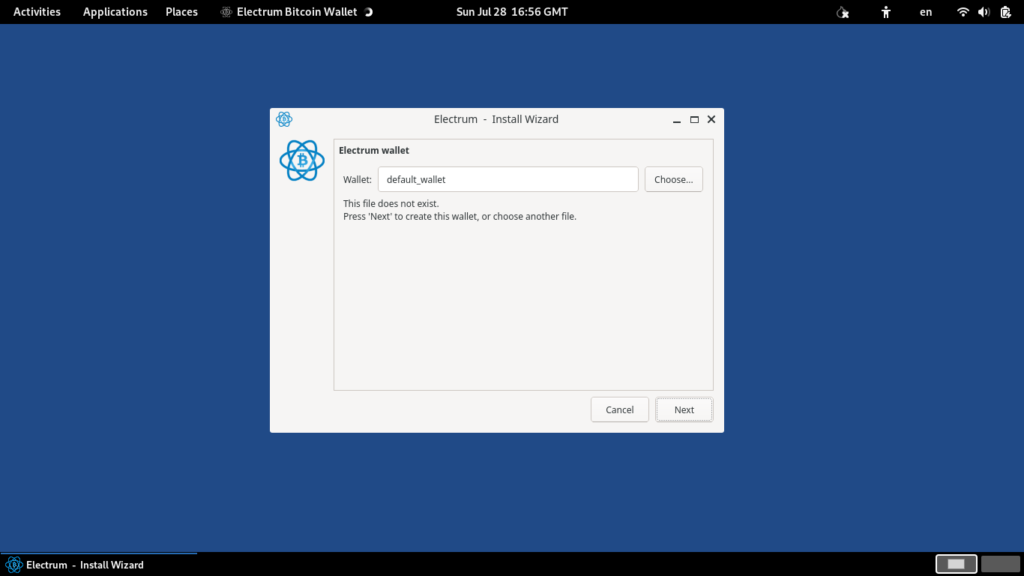
Now that we have the application open, we can choose a name for your wallet:
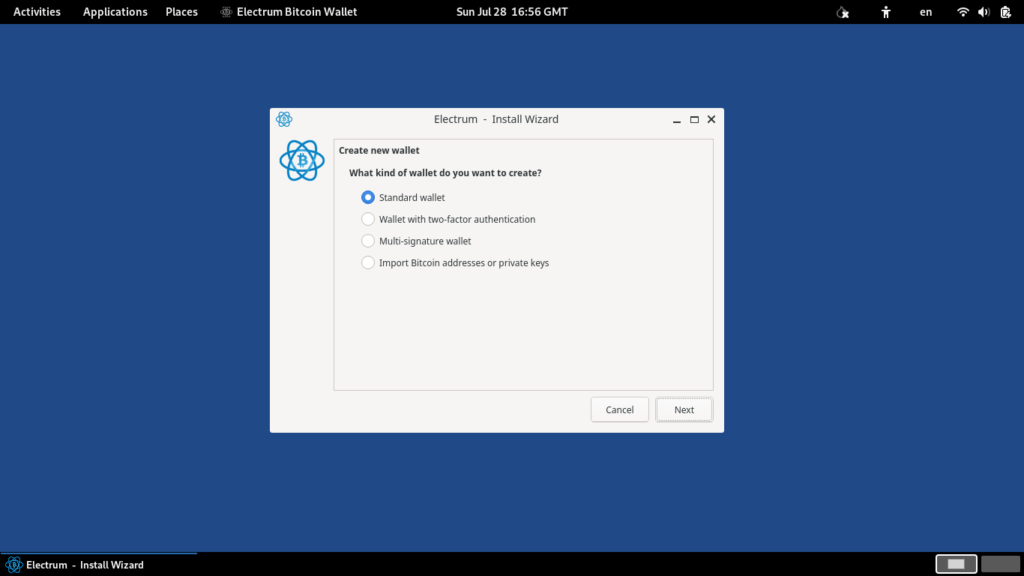
Next, choose the “Standard wallet” option:
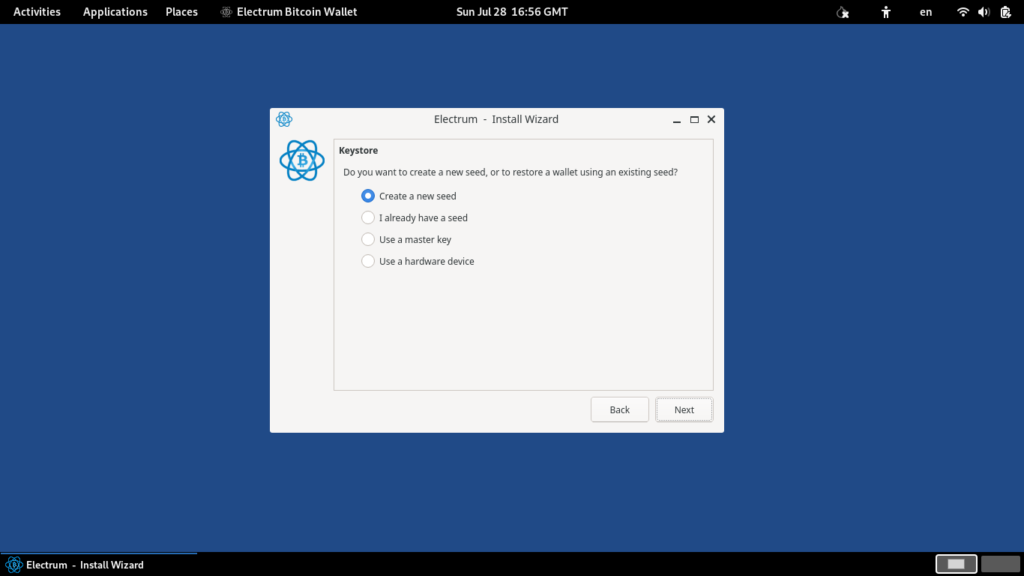
Then select “Create a new seed”:
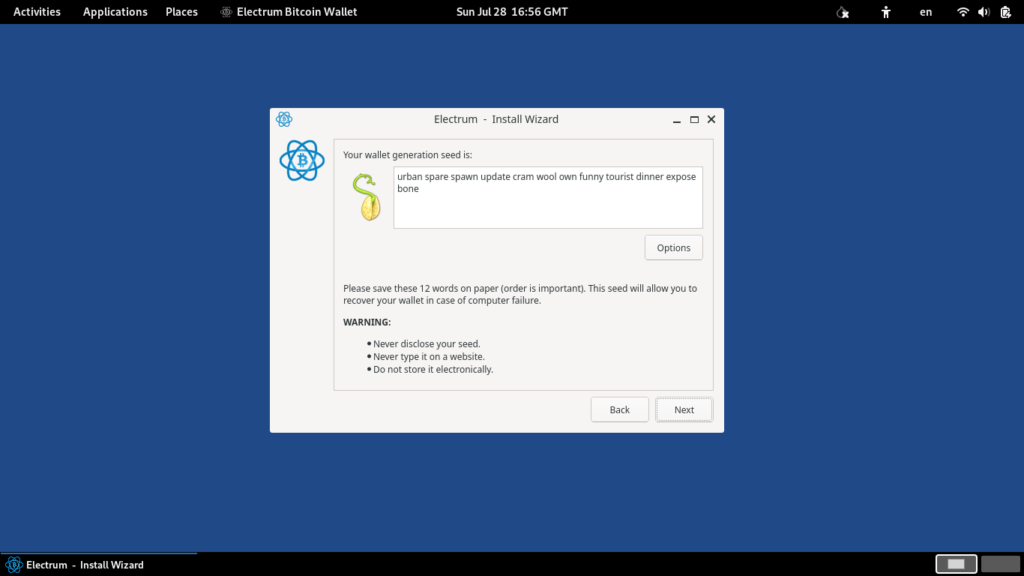
Next, Electrum will present your seed phrases. They should be stored in a safe place; if you lose the words, there is no way to access your bitcoin wallet:
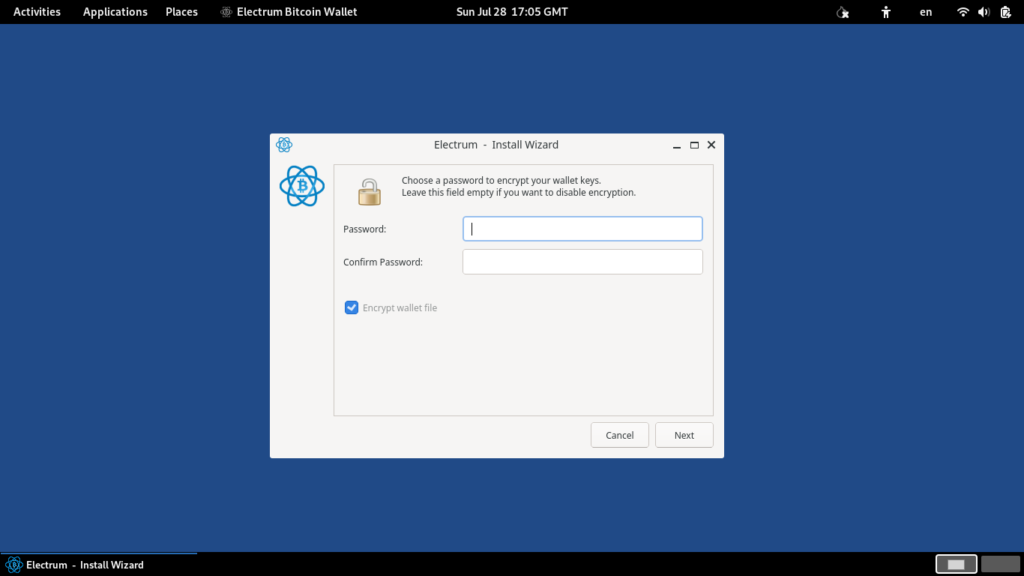
After re-entering your seed phrases, you will also be prompted to create a password:
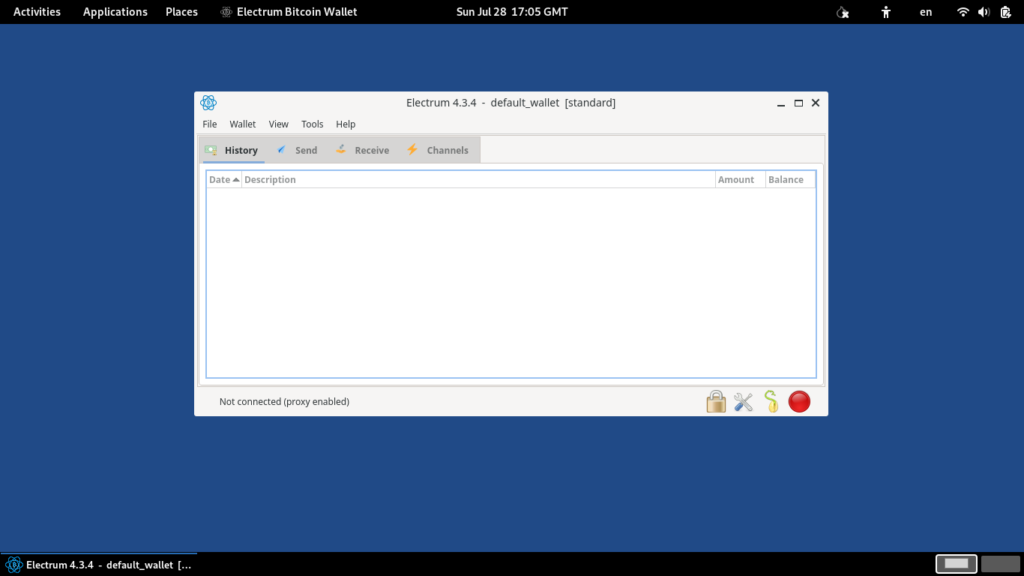
Now it’s done! Your bitcoin wallet is ready to use.
Conclusion:
Now that your wallet is created and ready to use, don’t forget to store your seed securely. Our recommendation is to place it on an encrypted micro SD card. Even if the card is discovered, it won’t be possible to view its contents without knowing the password. I also remind you to ensure your computer is secure before installing your wallet. If you use Linux, you can check this article on how to configure your firewall and make your system more secure.
If you are a Windows user, check to ensure there is no malware on your system. I always emphasize these security checks because they are really important.


